Post by Crimson on Nov 6, 2009 15:04:20 GMT -5
First off I want to thank Psycho for not only some inspiration to get off my but and make this but for being a awesome individual who gave me the batteries to do it with.
So you all know I love my Lipos. High voltage, high current. And well im a Radio control guy so I have a ton of them. The problem is. They are finicky you have to be carefull with them and the cant be charged in a hurry. What I ran into with my kwa is 7.4 not enough 11.1 more then I wanted. So what can a guy do.
So I give you my solution.................
A123 3s 2200 Mah
Pro's
1. Fully charged they are 10.8v with a standing charge of 9.9.
2. They can be Charged up to 4C. What does this mean? It means I can pump 8 amps into them for a 15 minute charge if I need to.
3. They handle discharge better then Lipo's. If you take a lipo under 2.8v per cell you just cost yourself some money. A123. well they can take it
4. Good middle ground between a 7.4 and a 11.1 in Rof terms.
5. 2200 Mah will run my gun for a long long time without needing charged.
Con's
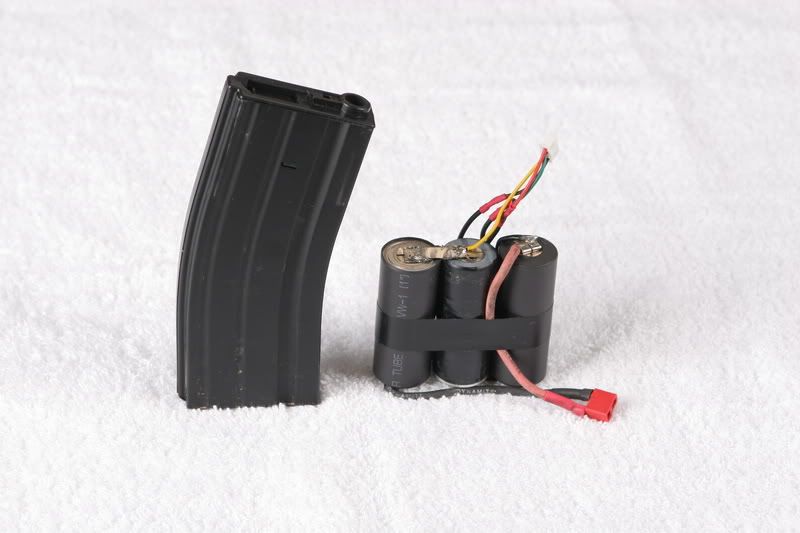
1. They are huge. Atleast the 2200 are. And Psycho already has a guild up on the 1100's which are alot smaller. They are pretty much the size of a C batter but about 150% the length.
photo for size comparison to a M4 mag.
Ok so here is the fun part what does it take to make one of these bad boys.
1. First get your hands on some Cells. I wont go to much into this because if you cant use google you should not be building battery packs.
2. Make sure your charger can handle A123 or LiFe batteries. The charger I use is fairly cheap but has to be ordered over sea's.
hobbycity.com/hobbycity/store/uh_viewItem.asp?idProduct=7028&Product_Name=Turnigy_Accucel-6_50W_5A_Balancer/Charger
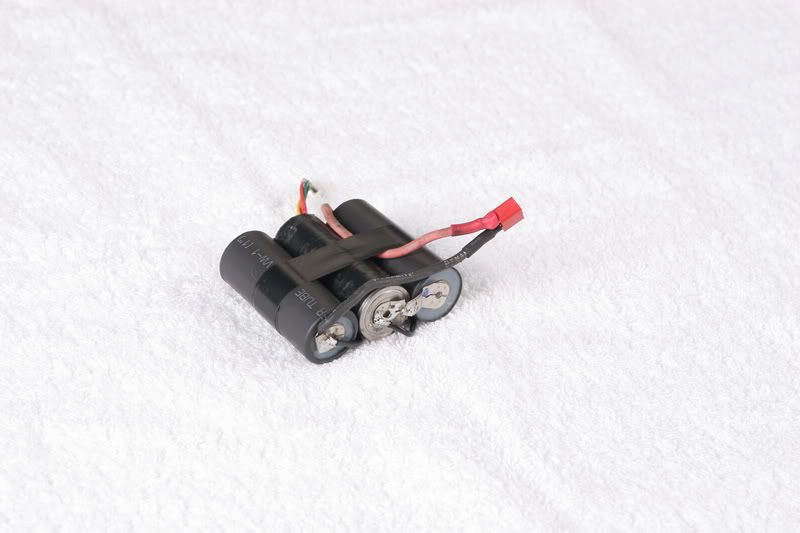
3. These Cells are 3.3v per cell so for airsoft a 3S configuration works good. You can configure the pack any way you like to make it fit where it needs to go. Mine is Flat just because it fits my custom battery bag(read camera case with a Ris mount on it)
4. You will be able to line them up and solder the tabs togther in Series or - to +
By wiring them in Series you are adding the voltage of each cell ending with 9.9v
4. Next you will need to add a balance connector to the battery. Make sure the one you have matches your charger. For the charger I use it is a Common Since Brand balance connector for a 3S battery. Balancing we prolong the life of your batterys by making sure each cell charges to the correct voltage.
Here is a link to a pdf file on Balance connectors and how to wire them
media.hyperion.hk/dn/a123/packassy/A123packassy.pdf
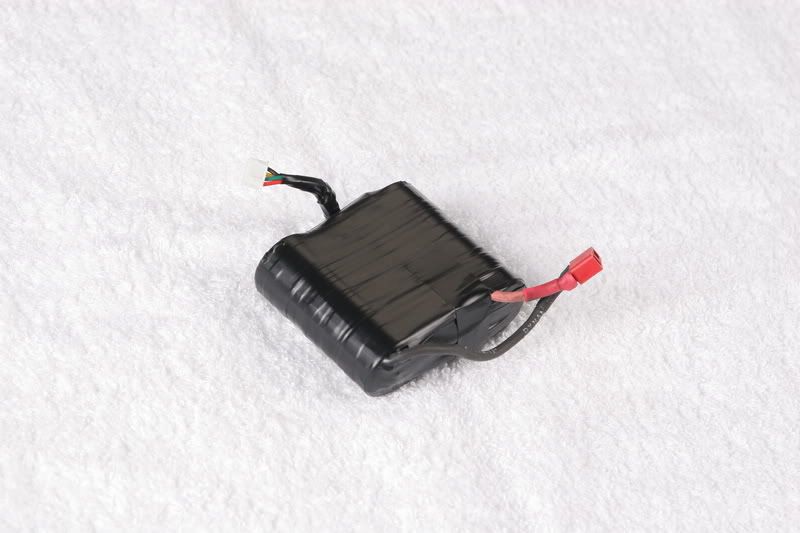
5. Once everything is soldered up you will need to wrap the batterys with eather shrink wrap of Electrical Tape. I used tape because it is what I had lying around.
First make sure to wrap the ends to keep things from shorting themselves I like a few layers of tape here to protect from wear.
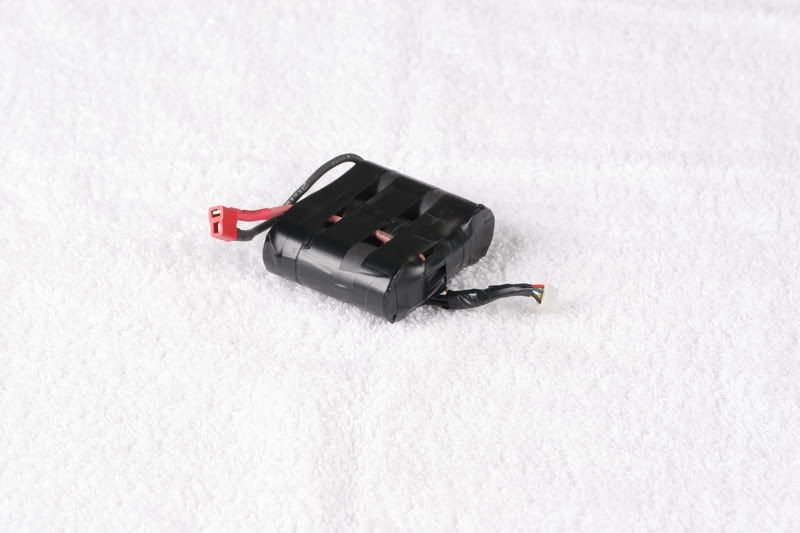
Next wrap the whole battery making sure to keep the wires where you want them. You should end up with something like this.
Here is a quick shot of how it fits my custom case.
Hope this helps some people out. I left out the obvious stuff that you should already know if attempting this. Plenty of stuff out there for how to solder and such.
Questions or comments feel free to ask. If anyone is interested in how I made the Battery case I can do something up on that to.
So you all know I love my Lipos. High voltage, high current. And well im a Radio control guy so I have a ton of them. The problem is. They are finicky you have to be carefull with them and the cant be charged in a hurry. What I ran into with my kwa is 7.4 not enough 11.1 more then I wanted. So what can a guy do.
So I give you my solution.................
A123 3s 2200 Mah
Pro's
1. Fully charged they are 10.8v with a standing charge of 9.9.
2. They can be Charged up to 4C. What does this mean? It means I can pump 8 amps into them for a 15 minute charge if I need to.
3. They handle discharge better then Lipo's. If you take a lipo under 2.8v per cell you just cost yourself some money. A123. well they can take it
4. Good middle ground between a 7.4 and a 11.1 in Rof terms.
5. 2200 Mah will run my gun for a long long time without needing charged.
Con's
1. They are huge. Atleast the 2200 are. And Psycho already has a guild up on the 1100's which are alot smaller. They are pretty much the size of a C batter but about 150% the length.
photo for size comparison to a M4 mag.
Ok so here is the fun part what does it take to make one of these bad boys.
1. First get your hands on some Cells. I wont go to much into this because if you cant use google you should not be building battery packs.
2. Make sure your charger can handle A123 or LiFe batteries. The charger I use is fairly cheap but has to be ordered over sea's.
hobbycity.com/hobbycity/store/uh_viewItem.asp?idProduct=7028&Product_Name=Turnigy_Accucel-6_50W_5A_Balancer/Charger
3. These Cells are 3.3v per cell so for airsoft a 3S configuration works good. You can configure the pack any way you like to make it fit where it needs to go. Mine is Flat just because it fits my custom battery bag(read camera case with a Ris mount on it)
4. You will be able to line them up and solder the tabs togther in Series or - to +
By wiring them in Series you are adding the voltage of each cell ending with 9.9v
4. Next you will need to add a balance connector to the battery. Make sure the one you have matches your charger. For the charger I use it is a Common Since Brand balance connector for a 3S battery. Balancing we prolong the life of your batterys by making sure each cell charges to the correct voltage.
Here is a link to a pdf file on Balance connectors and how to wire them
media.hyperion.hk/dn/a123/packassy/A123packassy.pdf
5. Once everything is soldered up you will need to wrap the batterys with eather shrink wrap of Electrical Tape. I used tape because it is what I had lying around.
First make sure to wrap the ends to keep things from shorting themselves I like a few layers of tape here to protect from wear.
Next wrap the whole battery making sure to keep the wires where you want them. You should end up with something like this.
Here is a quick shot of how it fits my custom case.
Hope this helps some people out. I left out the obvious stuff that you should already know if attempting this. Plenty of stuff out there for how to solder and such.
Questions or comments feel free to ask. If anyone is interested in how I made the Battery case I can do something up on that to.